
After watching your once-sunken driveway or patio magically return to level thanks to polyurethane foam injection, it’s natural to breathe a sigh of relief. But while the hard part might be over, your job as a homeowner isn’t done just yet. Concrete lifting is a powerful solution, but like anything exposed to the elements, it requires a bit of ongoing care to stay in top shape.
How Long Does Polyurethane Foam Injection Last For Sunken Concrete?
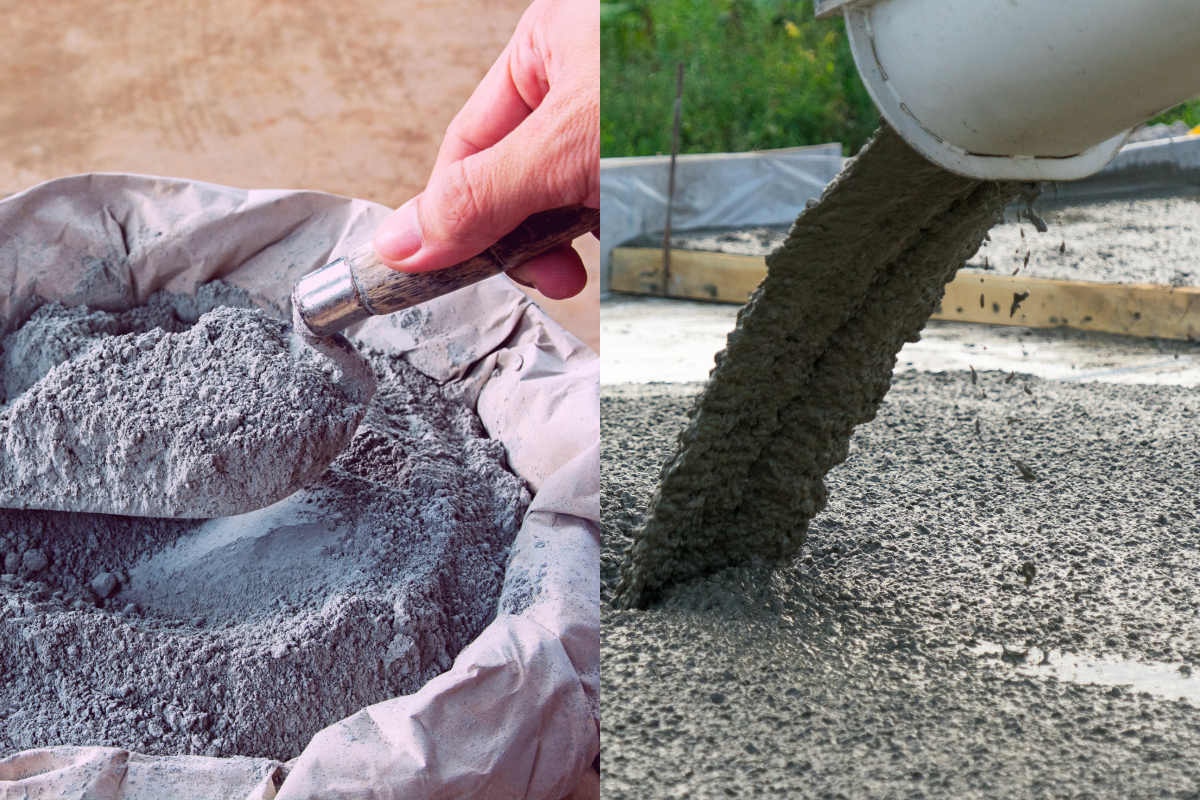
One of the biggest perks of polyurethane foam injection is its longevity. When properly cared for, the results can last up to 20 years. The foam beneath your slab is strong, lightweight, and moisture-resistant. But it’s not invincible. Over time, factors like poor drainage, sunlight exposure, or even curious pests can begin to undo the repair. That’s why a little maintenance goes a long way.
Why Is Concrete Maintenance Important?
Even if your concrete looks great right now, the same conditions that caused it to sink in the first place, soil movement, water intrusion, freeze-thaw cycles, haven’t magically disappeared. If left unchecked, they can start to wear down both the slab and the foam beneath it. And the sooner you catch potential issues, the easier (and cheaper) they are to fix.
How To Extend The Life Of Your Lifted Concrete
After a lift, your biggest enemy is often what you don’t see: water creeping under the slab, soil slowly washing away, or tiny cracks widening with each change of season. Here are a few practical things you can do to address these issues:
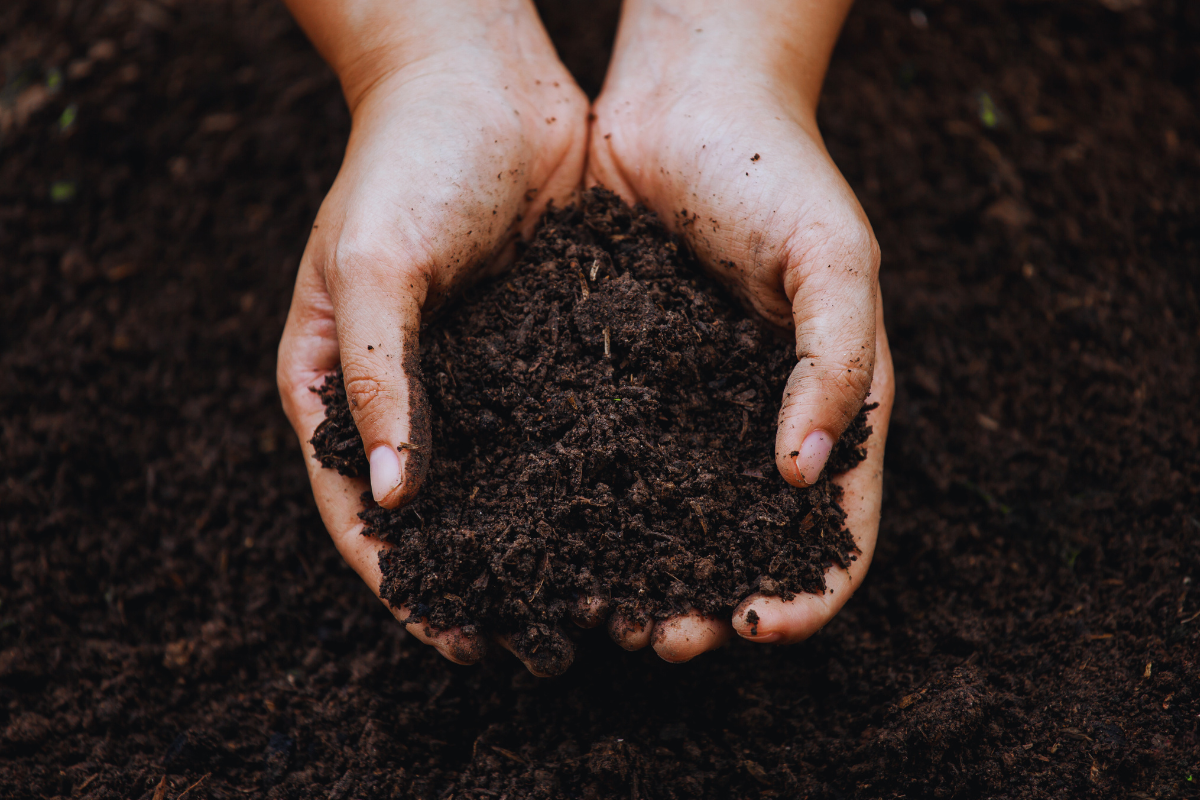
Prevent Soil From Re-Settling
Water is a major culprit in re-settling soil. Once your concrete has been lifted, it’s important to prevent moisture from eroding the soil beneath the slab. Ensure your gutters and downspouts are directing water away from the slab. If your area experiences high groundwater levels or heavy rainfall, consider installing a French drain system or perforated pipes around the perimeter of the slab to divert excess water away. This can help maintain the soil stability beneath the slab and prevent shifting that could lead to the re-settling of your concrete.
Protect Exposed Foam from Sunlight
If any polyurethane foam is visible around the concrete’s edges, it is important to cover it. Ultraviolet (UV) rays from the sun can degrade exposed foam over time. Use a high-quality caulk or patching material to seal around the edges and protect the foam from sunlight.You might also consider adding an extra layer of protective coating to shield the foam from UV exposure, particularly in areas that receive prolonged direct sunlight.
Seal Cracks
Cracks are gateways for moisture to get beneath the slab. While polyurethane foam is highly water resistant, it is not 100% water proof. Repeated exposure to moisture will eventually take a toll. So, make it a habit to regularly inspect the surface for any visible cracks. As soon as you spot one, seal it with a durable crack filler or concrete sealant. This simple step helps protect both the concrete and the foam beneath.
Get Rid Pests
Rodents, insects, and other pests sometimes tunnel underneath concrete, which can create voids that lead to sinking. This rarely happens with a foam-treated area, as polyurethane is not a food source for rodents and other pests. However, it does happen occasionally. If you see any signs of pest activity near your concrete, it’s best to address it, both for the sake of your lifted area and the surrounding surfaces.
Early Signs You Need Concrete Maintenance
- New or widening cracks: Small cracks can be a sign of shifting or settling beneath the slab.
- Pooling water on or near the slab: Water can erode soil and weaken the foam beneath, leading to further sinking.
- Slight sinking or movement in the concrete: This could indicate that the soil has begun to settle again.
- Visible foam or erosion at the slab’s edge: If you see exposed foam or signs of erosion, this could signal that moisture or pests are causing damage.
How To Clean Concrete (And Why It’s Important)
You might not think much about cleaning your driveway or patio, but it actually plays a key role in keeping the slab healthy. Regular sweeping removes debris that can trap moisture. Pressure washing helps eliminate stains that can degrade the surface. And resealing once a year keeps out water and grime. So yes, taking the time to clean your concrete isn’t just about curb appeal. It’s about protecting what’s underneath. Here’s a guide to cleaning most concrete surfaces:
1. Clear the Area
Before you start cleaning, remove any furniture, potted plants, or objects from the area. This gives you full access to the concrete surface and ensures no debris will be left behind. Sweep away any loose debris, such as leaves, dirt, and dust, using a broom or a leaf blower.
2. Check for Stains
Inspect the surface for any stains that might need extra attention (e.g., oil, grease, rust, or food spills). You can treat these ahead of time (see below) or after a first pass with the power washer.
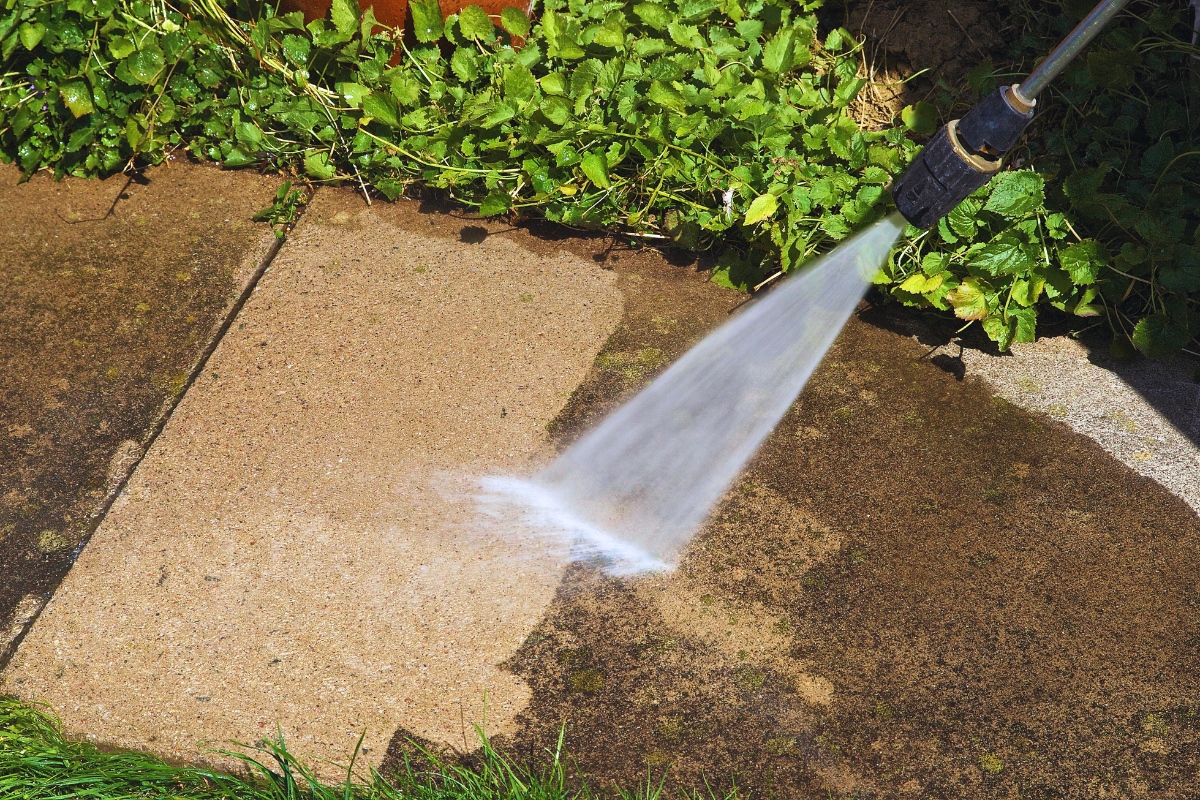
3. Use a Pressure Washer
A pressure washer is one of the most effective ways to clean concrete. The high-pressure water will blast away dirt and grime, and it can help remove mildew and mold without much effort.
- Set the Pressure Washer: Use a setting of 2,500 to 3,000 psi for concrete. Too high of a pressure can damage the surface, while too low won’t clean effectively.
- Use the Right Nozzle: A 25 or 40-degree nozzle is ideal for concrete cleaning. A wider spray will prevent damaging the surface and make it more efficient.
- Clean in Sections: Work in small sections at a time. Start from one edge and move across the surface, keeping the nozzle at least 6–12 inches away from the surface to avoid gouging.
4. Apply a Concrete Cleaner
For stubborn dirt, stains, or grime, use a concrete cleaner or degreaser. Look for a cleaner that’s safe for your type of concrete (especially if it’s a decorative finish like stamped or stained concrete).
- Dilute the Cleaner: Follow the instructions on the cleaner’s label to dilute it with water if necessary.
- Apply Evenly: Use a long-handled brush or a sprayer to apply the cleaner to the concrete surface. Make sure the entire surface is evenly covered.
- Let it Sit: Let the cleaner sit for 10-15 minutes to break down grime and stains, but don’t let it dry out. Add more water if it starts to dry too quickly.
5. Scrub Stubborn Areas
For stains or areas with built-up grime, scrub the surface using a stiff-bristled brush or a deck brush. Focus on high-traffic areas and spots where dirt or mold tends to accumulate. Use circular motions for even cleaning. For tough stains like rust or grease, you might need to use a specialized cleaner (more on that next).
6. Treat Stains Specifically
If you have specific stains, like oil, grease, or rust, you may need to treat them with more concentrated solutions.
- Oil & Grease Stains: Use a degreaser or a mixture of baking soda and water. Apply the solution to the stain and let it sit for 15-20 minutes before scrubbing.
- Rust Stains: Use a rust remover that’s safe for concrete. Apply it to the affected area and scrub with a wire brush or stiff bristle brush.
- Mold & Mildew: A mixture of 1 part bleach to 3 parts water works well for killing mold and mildew. Apply it to the affected areas, let it sit for a few minutes, then scrub and rinse thoroughly.
7. Rinse the Surface
Once you’ve scrubbed the entire surface and treated stains, thoroughly rinse the concrete with water. Use the pressure washer or a hose to remove all cleaning products and dirt. Make sure there’s no residue left behind, as it can cause discoloration or damage over time.
8. Dry the Concrete
Allow the surface to air dry after rinsing. You can speed up the drying process with a leaf blower or by using towels for smaller areas. Avoid walking on the wet concrete until it’s fully dry to prevent dirt from getting trapped in the pores.
9. Reseal (Optional)
After cleaning, consider resealing the concrete to protect it from stains, water, and wear. Sealing creates a protective layer that enhances the color and durability of the concrete, especially if it’s exposed to harsh weather, heavy traffic, or chemicals.
- Choose the Right Sealer: There are different types of sealers, including penetrating sealers and topical sealers. Penetrating sealers are more durable and protect from stains, while topical sealers give a glossy finish but may need more frequent reapplication.
- Apply Evenly: Follow the instructions on the sealer, applying it evenly with a roller or sprayer. Make sure to allow it to cure properly before using the area.
How Often Should You Inspect Your Concrete For Repair Needs?
A good rule of thumb is to inspect your lifted concrete twice a year, once in the spring and once in the fall. That’s when the freeze-thaw cycle or summer storms are most likely to reveal problems. Walk the area, check for cracks or uneven spots, and keep an eye on how water moves across the surface. Fix areas as needed.
Concrete Foam Repair in Minneapolis
Getting your concrete lifted is a great move, but maintaining it will help you get the most out of your surfaces. With just a few small efforts each year, you can keep your concrete level, strong, and looking great for decades. Need help checking the condition of your lifted concrete? Contact NHI for a free, no-pressure consultation and estimate for lifting your concrete. Let’s keep that concrete solid and level, for good.